
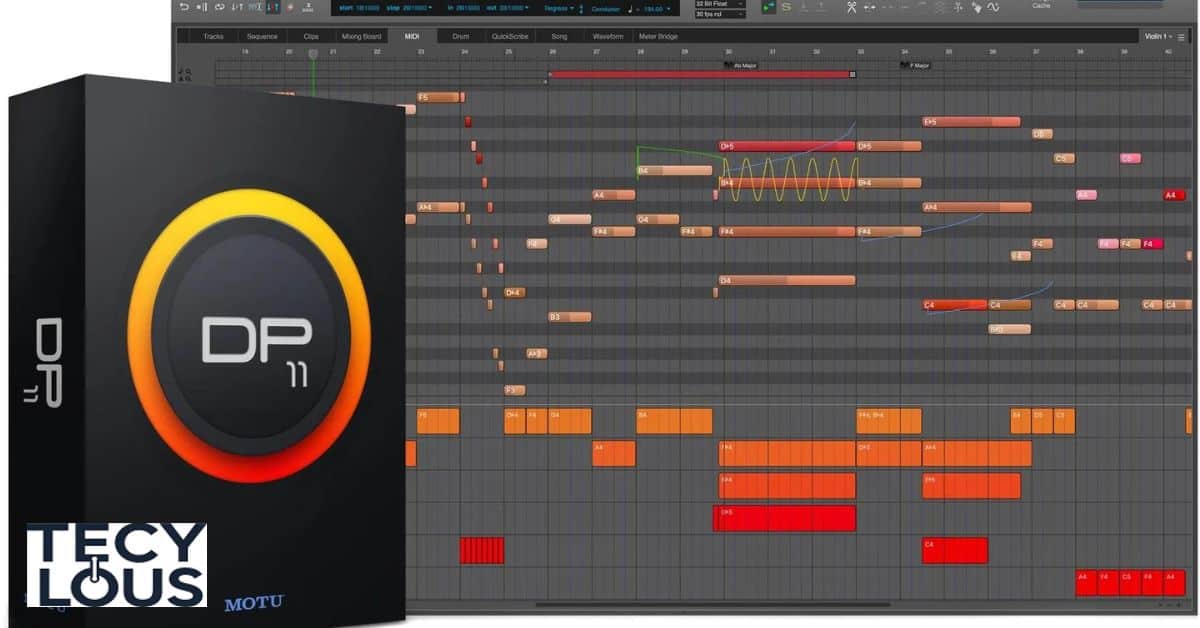
Digital Performer (often abbreviated as DP) is a powerful digital audio workstation (DAW) developed by MOTU. It’s popular among musicians, sound engineers, and producers for its robust audio production capabilities. However, to get the most out of this music software, it’s crucial to understand cache settings, which play a key role in managing performance, latency, and data storage. One common question is, “Can you change cache in Digital Performer?” In this article, we’ll explore everything you need to know about cache settings in Digital Performer and how to optimize performance for a smoother and more efficient workflow.
Understanding Cache in Digital Performer
Cache in Digital Performer refers to temporary storage used to handle audio data more effectively. This cache management helps reduce latency and improves the DAW’s ability to process real-time information without interruptions. But can you modify these cache settings in Digital Performer? The short answer is yes, but with certain limitations. Let’s delve into how this works.
What is Cache?
In a music production context, cache is a reserved area of memory where Digital Performer temporarily stores frequently accessed audio files and data. This caching process allows the DAW to quickly retrieve stored audio content without repeatedly accessing the disk, thus reducing read/write operations and boosting efficiency. Cache performance directly affects playback, recording, and overall DAW efficiency.
| Cache Type | Description | Impact on DAW |
| Disk Cache | Stores frequently accessed audio data on the hard drive. | Reduces disk read/write times. |
| Memory Cache | Holds temporary data in RAM for faster access. | Minimizes latency. |
| Buffer Cache | Manages buffer size to handle real-time processing needs. | Controls audio lag. |
How Cache Works in Digital Performer
Digital Performer relies on multiple layers of cache settings to manage the flow of audio data. Each type of cache has a specific function, but all work together to optimize performance metrics such as latency, audio dropouts, and lag. The most important aspects include:
- Buffer Size: Determines the amount of audio data the system processes in real time.
- Disk Read/Write Size: Manages how much data can be written or read simultaneously.
- Memory Allocation: Affects how much RAM is dedicated to cache management.
Can You Change Cache in Digital Performer?
Yes, you can adjust certain cache settings in Digital Performer, but not all. This flexibility varies depending on your version of the software and your system settings. Below are the primary cache management settings that you can configure to optimize performance:
Managing Buffer Size in Digital Performer
Buffer size is a critical setting that controls how much audio data is processed in real-time. A larger buffer size reduces the risk of dropouts but increases latency, while a smaller buffer size decreases latency but can cause audio glitches during high-demand tasks like mixing.
Recommended Buffer Sizes:
| Task | Recommended Buffer Size | Effect on Cache |
| Recording | 64 – 128 samples | Low latency, higher CPU load. |
| Mixing/Mastering | 256 – 512 samples | Higher latency, smoother playback. |
| Editing | 512 – 1024 samples | Minimal cache usage, more stable performance. |
To change the buffer size in Digital Performer:
- Go to Setup > Configure Hardware Driver.
- Adjust the Buffer Size slider to your desired value.
- Test the settings to see how they impact cache performance.
Adjusting Disk Read/Write Size
The disk read/write size determines how much data Digital Performer can access at one time. Adjusting these settings can help optimize hard drive performance and prevent audio stutters or lags during playback. However, increasing the read/write settings also increases the strain on your storage device.
How to Modify Disk Read/Write Size:
- Go to Setup > Configure Audio System.
- Select Disk I/O Settings.
- Change the Disk Read/Write Buffer Size.
Suggested Disk Read/Write Sizes:
| Scenario | Suggested Disk Read/Write Size | Performance Impact |
| Standard Playback | 64 KB | Faster read/write, lower disk usage. |
| Heavy Projects | 128 KB | Smoother playback with large sessions. |
| High Track Count Projects | 256 KB | Reduced dropouts, increased stability. |
Improving Cache Performance in Digital Performer

To enhance cache performance, it’s essential to implement strategies that address both cache management and system optimization. The goal is to create a balance between cache efficiency and overall system settings.
Best Practices for Cache Optimization
- Clear Bad Cache Files:
- Regularly clearing bad or corrupted cache files can prevent performance issues.
- To do this, navigate to Preferences > Cache Management and select Clear Cache.
- Optimize Disk and Memory Allocation:
- Allocate enough RAM to handle your projects but avoid over-allocating, which can impact cache performance.
- Use External Storage for Large Projects:
- Storing large audio files on external SSDs can reduce the load on your primary drive, thereby enhancing disk read/write efficiency.
Reducing Latency: Cache vs. RAM Allocation
RAM allocation is another critical factor in system optimization. Allocating more RAM to cache can minimize the chances of latency and audio glitches, but this depends on the size and complexity of your projects.
Ideal RAM Allocation for Digital Performer:
| Project Size | Recommended RAM Allocation |
| Small Projects | 4 GB |
| Medium Projects | 8 GB |
| Large Projects | 16 GB or more |
Project Management Strategies
Effective project management can significantly impact cache performance. Here are a few strategies to consider:
- Disable Unused Tracks and Plugins:
- Each track and plugin consumes cache memory, even when not in use.
- Freeze Tracks:
- This reduces the real-time processing demand, freeing up system cache.
- Consolidate Audio Files:
- Use the consolidate function to merge fragmented audio data and improve cache efficiency.
Troubleshooting Cache-Related Issues in Digital Performer
Experiencing performance issues like lag, stuttering, or dropouts? Here’s how to identify and fix common cache-related problems:
Common Signs of Cache Problems
- Audio Glitches: Random pops, clicks, or dropouts.
- High Latency: Delayed playback or recording.
- Disk Overload: Slow project loading or high disk usage.
Frequently Asked Questions
- Can I Increase My Cache?
- Digital Performer allows you to tweak buffer size and disk read/write settings, but it does not support unlimited cache expansion.
- What is ARA in Digital Performer?
- ARA (Audio Random Access) is a technology that enables better integration with certain audio plugins, enhancing the DAW’s cache performance.
- Does Increasing Cache Size Improve Performance?
- Not always. While increasing cache size can handle more audio data, it also increases memory load, which can cause lags if your system is underpowered.
- Does Clearing Cache Reduce Lag?
- Yes, if the lag is caused by corrupted or bloated cache files.
- Why is Too Much Cache Bad?
- Over-allocation of cache can slow down system performance and lead to memory conflicts.
Advanced Techniques for Optimizing Digital Performer’s Performance
To achieve optimal cache performance, you need to go beyond basic cache settings and focus on overall system optimization.
Disk Optimization for Smooth Playback
- Use SSDs Instead of HDDs:
- Solid State Drives offer faster read/write times and improve cache performance significantly.
- Defragment Hard Drives Regularly:
- This reduces the time it takes for the disk to access fragmented audio data.
RAM Allocation: Finding the Right Balance

More RAM equals better cache management, but over-allocating can lead to inefficiencies.
| RAM Size | Ideal Use Case |
| 8 GB | Small projects, minimal plugins. |
| 16 GB | Medium projects, multiple plugins. |
| 32 GB or more | Large projects, extensive plugin usage. |
Offline Bounce to Reduce Cache Load
Using offline bounce minimizes real-time cache usage by rendering tracks before playback. This technique is ideal for large projects where real-time processing is taxing the system.
Conclusion
Understanding and optimizing cache settings in Digital Performer is crucial for achieving a smooth and efficient workflow. Managing buffer size and disk read/write settings can dramatically affect how well your DAW handles multiple audio tracks and plugins. By fine-tuning these settings to match your project requirements, you create a more responsive environment that minimizes latency and prevents frustrating audio glitches. One common question is, “Can you change cache in Digital Performer?” Yes, you can, and this adjustment plays a vital role in performance.
Additionally, leveraging advanced optimization strategies, such as RAM allocation and track management, can streamline your production process. A well-optimized setup enhances your overall music production experience, allowing you to focus on creativity rather than technical setbacks. One common question is, “Can you change cache in Digital Performer?” Ultimately, investing time in understanding and adjusting your cache settings leads to a more productive workflow, empowering you to achieve higher-quality sound and faster project completion. Embrace these techniques for an enjoyable audio production journey.

Roman Khan is a skilled writer with expertise in tech and ai . As a member of the Techy Lous team, he blends creativity with a deep understanding of technology, delivering engaging content on the latest innovations in gadgets, AI, and tech trends.